Baby Shower DIY - Circle Garland with Stickers!
>> Tuesday, March 9, 2010
How To: Circle Garlands made with Stickers!

I learned how to do this from the manager at my favorite store in the world: Paper Source! (I worked there over holiday just to be inspired, crafty, and have fun with fellow paper loving gals!) This garland is SO easy, because you use sticker labels instead of having to cut and sew or glue! Here are what you need:

2 1/2" Round Printable Labels
(Yes, that means you can PRINT on them before you make the garland if you want!!!!!) Each pack has 60 labels, so one pack will make 30 of the larger circles on a garland. To make about 5 8' garlands, I went through 4 packs of these.

1 1/4" Round Label Sheets
Each pack has 240 labels, so one pack makes 120 small circles. I only used one of these packs.
You can use any thin ribbon, twine or string. I used packaging string AND thin ribbon for mine. Just depends on what color and look you are going for....

Cut your string to the length you want. Then press string onto center of circle sticker...

...place same sized sticker onto other side (sticky sides together) to make a sandwich with the string running through the center. EASY AS THAT! Alternate small and large (I did small, large, small, large on half of my garlands and then TWO small, ONE large, etc. on the other half for some variation).

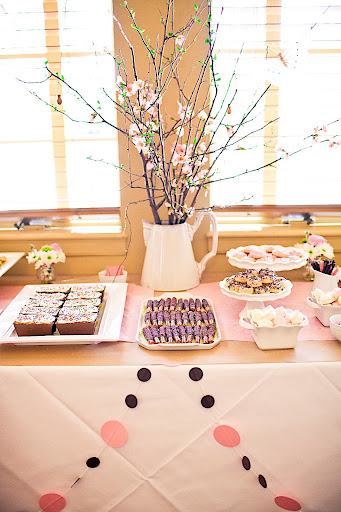
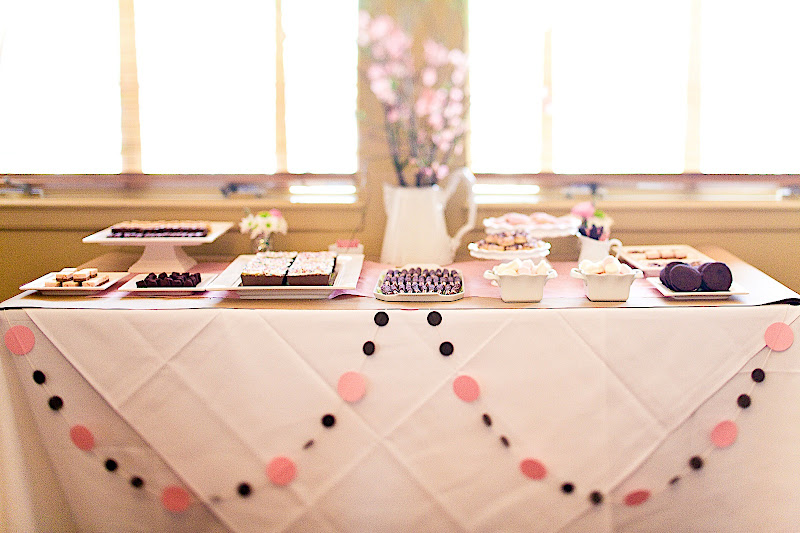
The finished product is a fabulous garland that is SO easy to make. It is time consuming, but definitely not difficult. You can hang them from the ceiling, in a door way, or on tables to add color and festivity to any space for any party!


6 comments:
what a great idea! paper source is SO dangerous. if we had a store here, i'd be in trouble :)
I absolutely love the circle sticker garland! I am going to do that for my daughter's 1st birthday party!
Thank you so much for sharing the idea!
ideas are endless with this idea for so many occasions ...you are so clever, thanks for the ideas and instruction!!!! Laurie
love all of these ideas, as my bff is having alittle girl in June and you bet I will use this idea, so easy peezy! thank you Emily!
Adorable!
Zenna's room will forever be cute with Auntie Emily as her interior designer!!!!
Post a Comment